Technique
Mawashi Geri Technique: Chamber, Pivot, Hip Turn, and Recovery
Break mawashi geri into chamber, supporting-foot pivot, hip rotation, contact and recovery, then film pad drills from a useful angle.
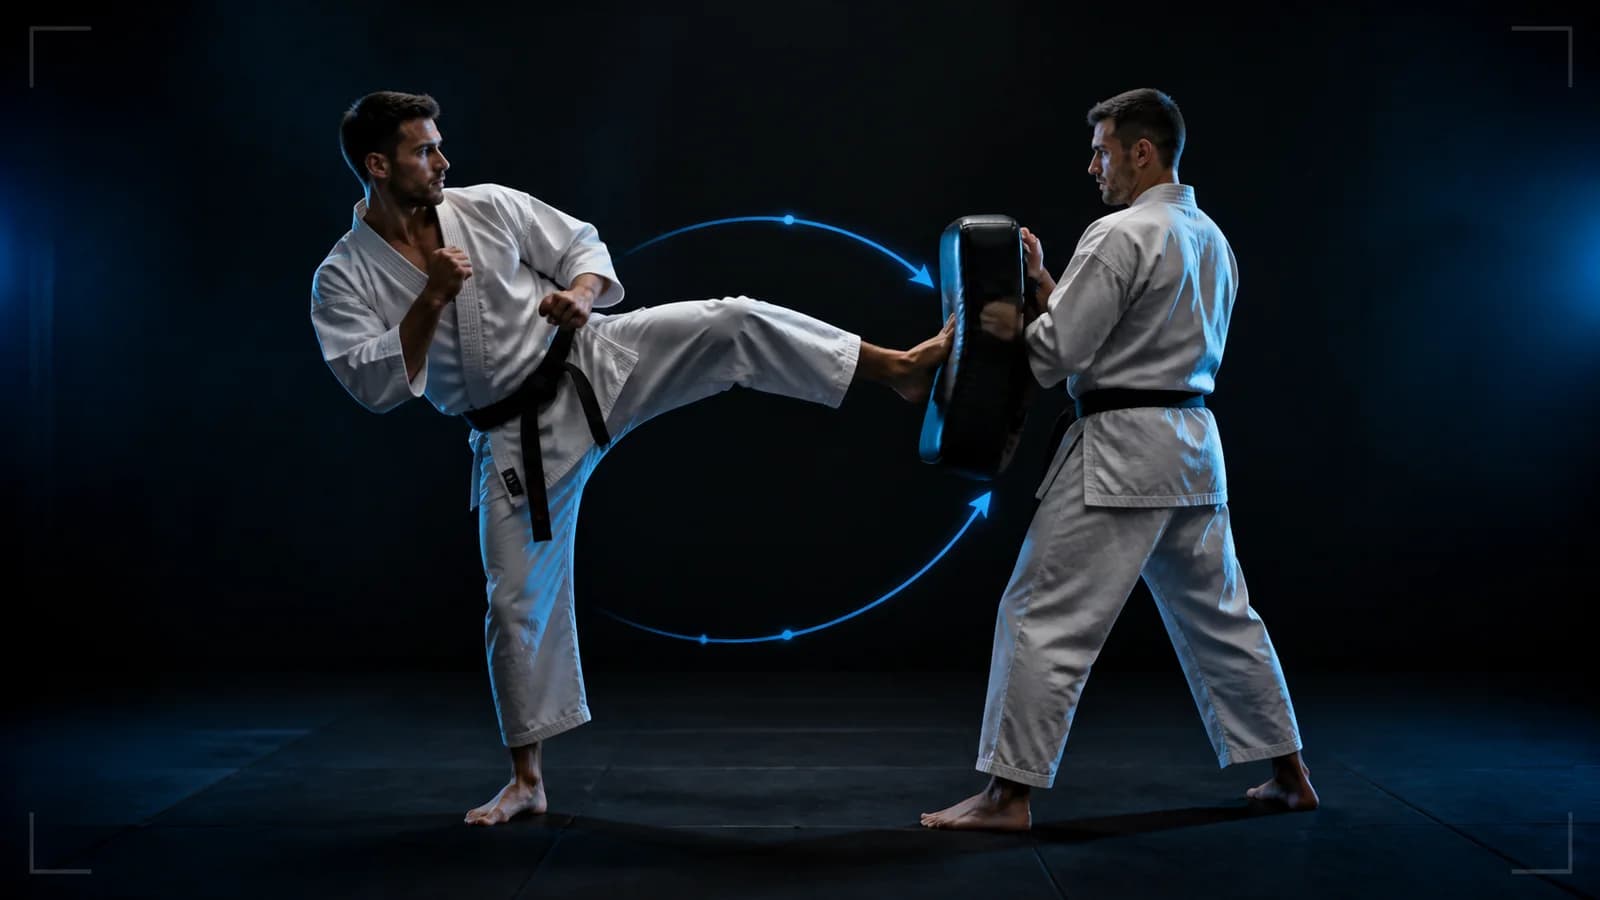
Mawashi geri becomes repeatable when you chamber the knee toward the target line, pivot the supporting foot, turn the hip, make controlled contact and recover the leg before you rebuild stance. Practise the sequence slowly on a pad before adding speed, height or combinations.
Train with a qualified instructor and the rules of your style or competition format. Agree on target, contact and equipment before partner work.
Build the kick in five phases
1. Chamber
Lift the kicking knee and carry it across the centerline toward the target. Keep the lower leg folded so the foot does not swing early. The chamber establishes height and direction.
2. Pivot
Turn on the ball of the supporting foot so the heel opens away from the target. The pivot gives the hip room to rotate and reduces the need to twist only at the knee. Keep the supporting knee soft rather than locked.
3. Turn the hip
Rotate the pelvis through the target while the torso stays organized. A small lean may balance the leg, but do not fall away so far that you cannot recover.
4. Make the chosen contact
Your style, target and rules determine whether you use the instep or ball of the foot. Practise the surface your instructor teaches and protect the toes and ankle accordingly. Do not mix contact instructions from different formats without context.
5. Recover
Fold the lower leg back toward the chamber, bring the knee under control and place the foot where the next action requires. A kick that reaches the pad but drops uncontrolled leaves the sequence unfinished.
Keep the guard responsible
Use the non-kicking-side hand to protect the face. The other arm may move for balance according to your style, but avoid throwing both hands away from guard. Keep the eyes on the partner and target.
Ask a pad holder to stand stable and present a target that matches the agreed height. Do not chase a moving pad at full power during early technique work.
Use a safe progression
- Chamber and replace the foot without kicking.
- Chamber, pivot and return slowly.
- Extend to a low pad with light contact.
- Add smooth recovery to stance.
- Increase speed only when the path stays controlled.
- Add a preceding or following technique after the single kick remains repeatable.
High kicks demand more balance and range. Keep the target lower when raising it makes the supporting foot collapse, the knee hurt or the recovery disappear.
Review common misses
| What happens | Review first |
|---|---|
| Kick travels upward instead of around | Knee direction and hip turn |
| Supporting heel stays aimed at target | Pivot timing and floor friction |
| Torso falls away | Target height and chamber control |
| Hands drop | Slow the rep and assign each hand a job |
| Foot lands heavily after contact | Re-chamber before placing the foot |
The same visible miss can have different causes. Do not diagnose flexibility, strength or injury from one camera angle.
Review mawashi geri in Karate AI: Dojo Coach
Place the camera outside the kicking lane at hip height and a front-oblique angle. Keep the supporting foot, hips, both hands, target and full recovery visible. Record several light pad repetitions without moving the camera.
Open Karate AI: Dojo Coach and compare chamber direction, supporting-foot pivot, hip turn and recovery. Choose one visible correction for the next set. Use the app's video feedback alongside your instructor, who can check contact, distance and safety in person.
Your next practice block
Perform slow chamber-and-pivot reps, then a small set of light pad kicks. Review one clip, choose one cue and repeat from the same angle. Finish while you can still recover every kick deliberately.
Mawashi geri does not need to look dramatic to work. Build a clear path to the target and an equally clear path back to stance.